To refresh your memory, we've been through why we scrapbook and your basic scrapbooking tools. In each of those lessons, we reviewed the different reasons why a person feels the importance to scrapbook- basically to record their everyday lives, preserve memories, and pass it on to their loved ones, so future generations will know who their family was and what they were like, and what life was like when they were around (or young). In the basic scrapbooking tools lesson, we learned what tools are important to get you started in this hobby- paper trimmers, the difference between card stock and patterned papers (and the multitude of papers to choose from!!), and obviously pictures, which are at the heart of each and every layout you make.
Now we can move on to your basic design principles. In a nutshell, I'll walk you through the process of putting together a layout! I even created a layout, and took pictures, step by step, of the process I usually follow to achieve my finished product.
Shall we get started??!
First, there are different 'parts' to each and every design. On the paper you want to adhere your parts to, you'll want to leave room for your photos (no-brainer), a title, your journalling and finally the embellishments. As I am placing the papers where I want them, and the picture, I try and stay one step ahead, constantly trying to visualize where each part will fit the best. Unless you've already got a design dreamed up in your brain before you get started, a lot of rearranging and moving around will occur until something clicks. (Of course, if you choose to use a sketch, that'll take the guesswork out of where to place everything!)
So, to start, I begin by printing out the picture(s) I want to use, then begin thinking about what is already found in the picture that I can use to beef up the theme of my layout.
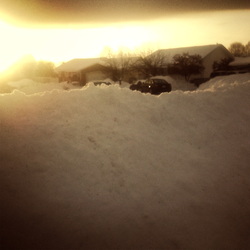
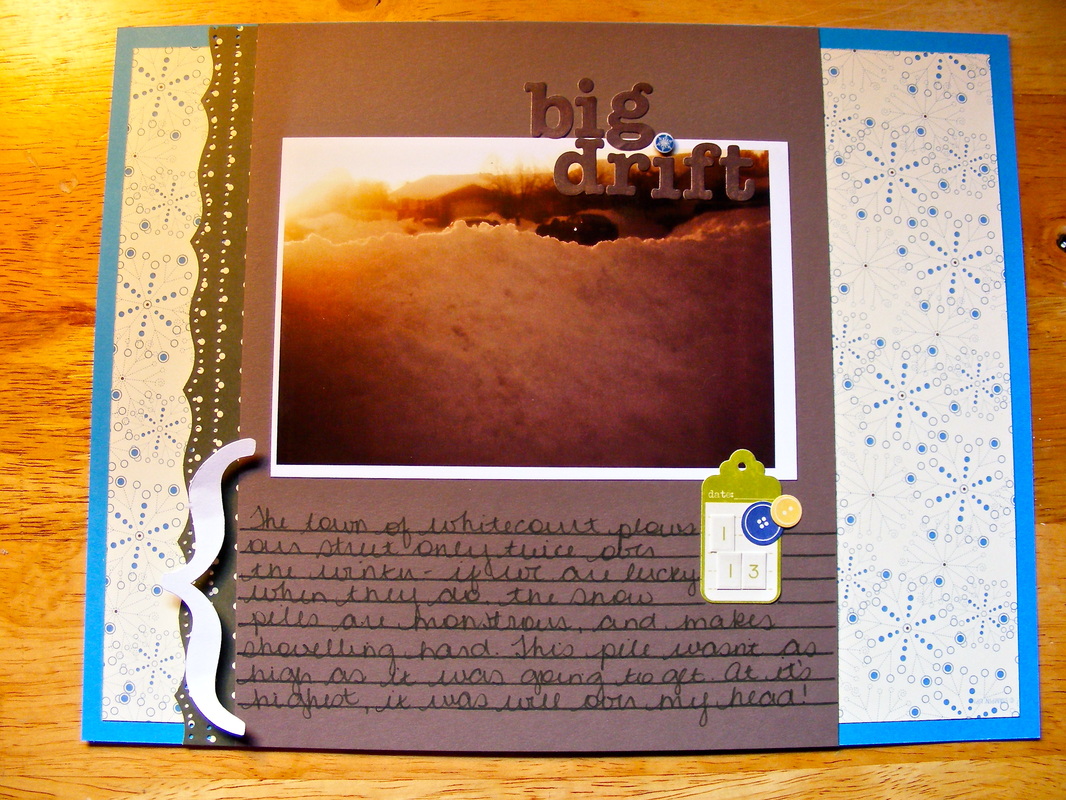
I began with this picture. You can see right away, that the main subject in my photo is snow- and a lot of it!! So, naturally, I began searching for a good paper that highlighted the importance of the snow- which is what the entire layout is going to be about. I finally settled on a great snowflake patterned paper, then pulled out a few sheets of coordinating card stock, and embellishments that I thought I might use on this layout. I don't always take out my embellishments and alphas before I begin a project, but for the purpose of this tutorial and lesson, I did. You may want to make this habit until you feel comfortable in your own crafty prowess.
On a side note, if you find that the embellishments that you pull out aren't to your liking, or don't work as well with your layout as you thought, don't feel like you need to use them! Keep searching until you find something that makes your heart happy!
On a side note, if you find that the embellishments that you pull out aren't to your liking, or don't work as well with your layout as you thought, don't feel like you need to use them! Keep searching until you find something that makes your heart happy!
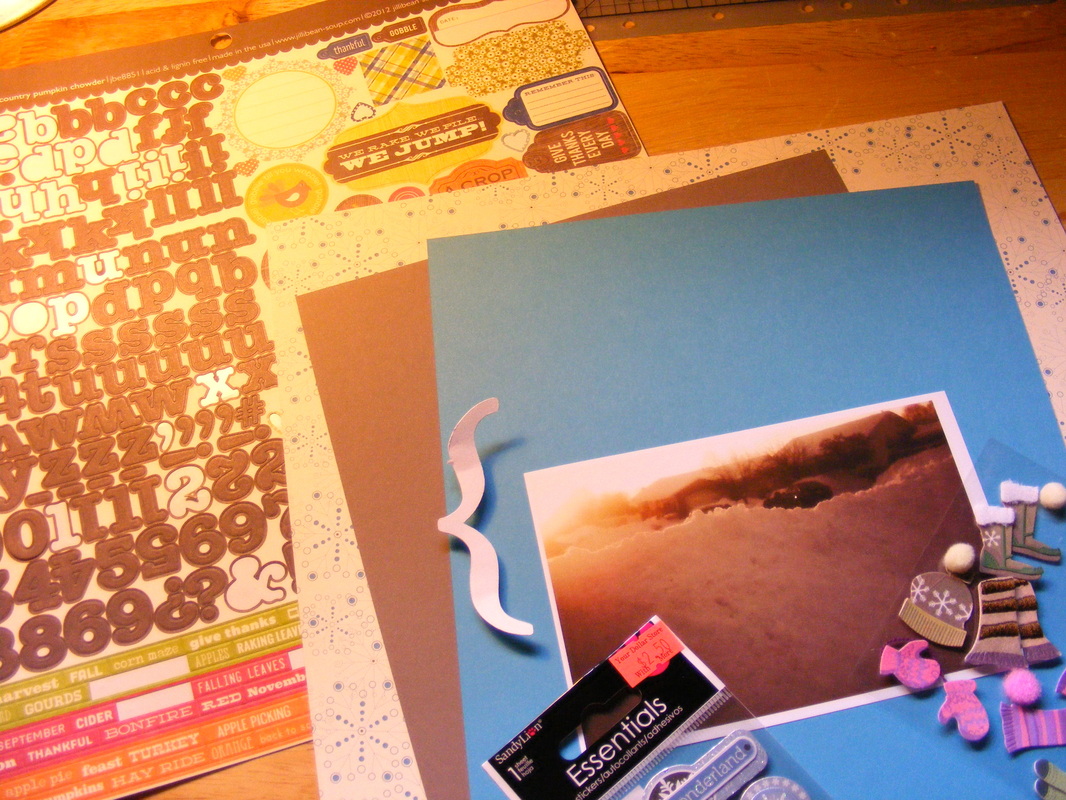
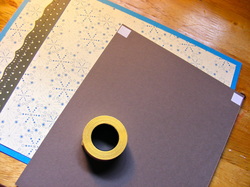
This naturally brings you to the next step in the layout designing process: gathering your materials. I have my picture, patterned paper, some card stock, embellishments and something to create my title work with. If you're using more than one photo, unlike me, decide which photo is going to be your focal, or main photo, and create a mat for it by cutting card stock slightly larger than your photo, or let your computer do it for you- print your photo with borders. (Another trick, is to create a frame for it, or use an embellishment type frame to draw attention to that main photo). If there's a lot of space in your photo that's white space, or space that's unnecessary, crop it out. It'll take away from the impact you're trying to make.
If there are a lot of pictures that you want to scrapbook, and they're not all going to fit on one page, consider creating a two page spread. In your album, they should lie facing each other, so when you open the album, they are side-by-side. When you create a two page spread, use complimentary patterns and colors, to keep the focus of your subject strong.
When you're choosing your patterned papers, be sure to choose a pattern that reinforces your theme- in my case, it is snowflakes. Also, choose embellishments that reinforce that theme, as well. Multiple patterns are ok to use, but if you do that, make sure you use them in small portions, so that it doesn't overwhelm the eye.
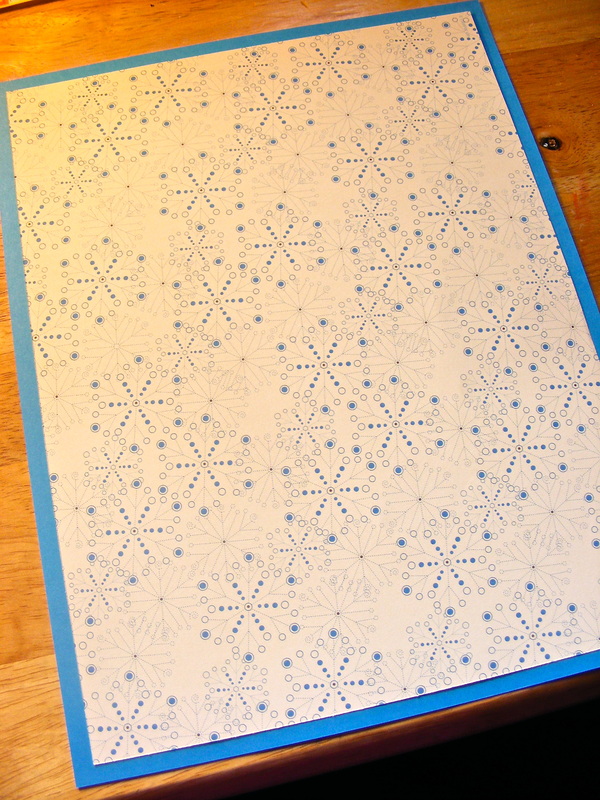
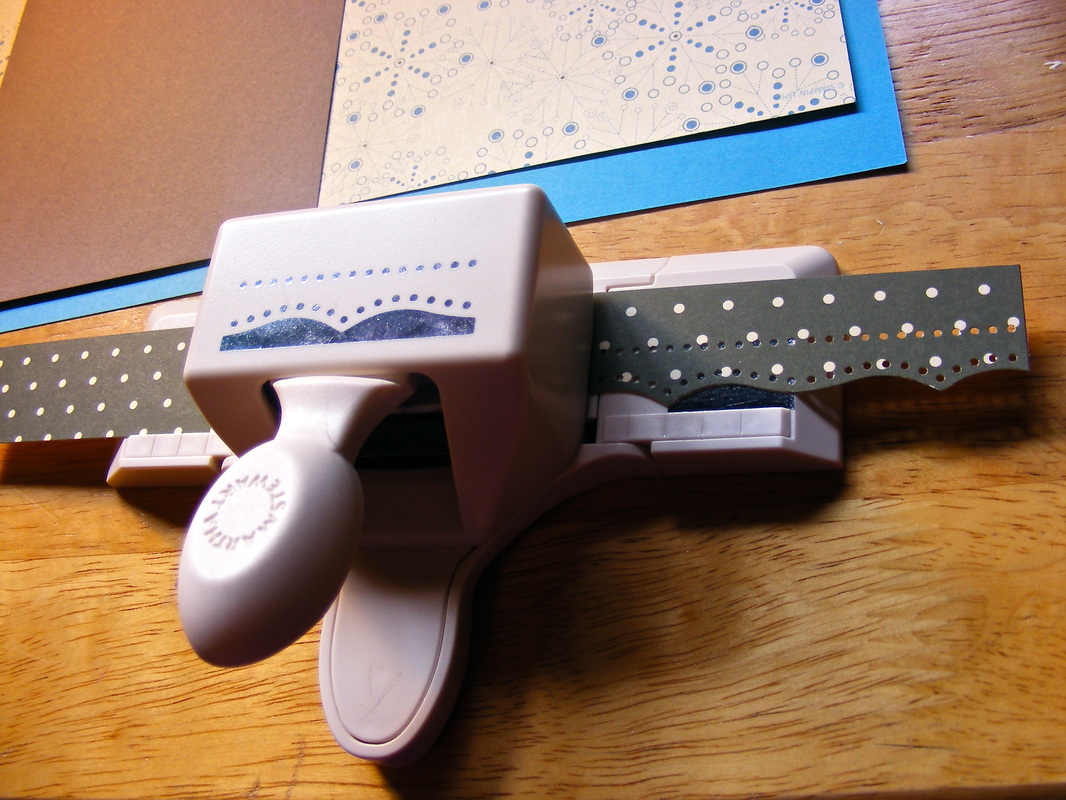
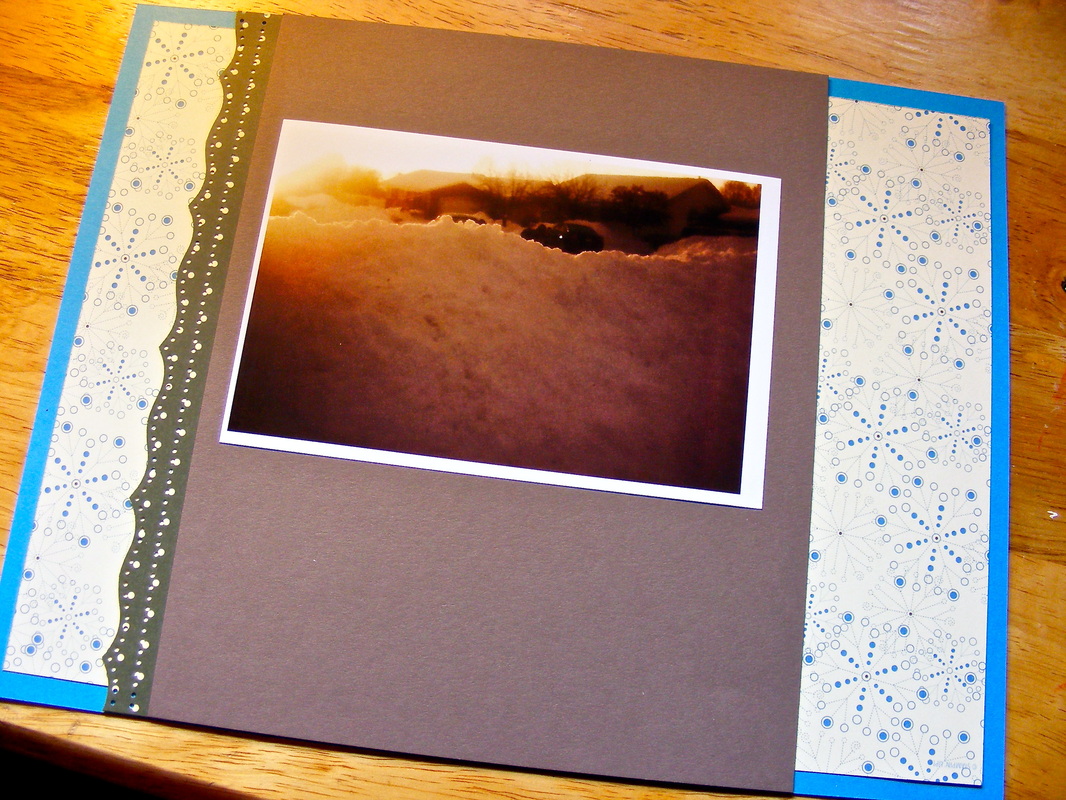
As you can see in this picture, I've created a photo mat, which is the next step in our design. A little trick I like to use, is printing my pictures with borders, which I mentioned above. But, I also took it a step further, and combined my photo mat, title mat and journalling mat all in one. A photo mat basically is a tool to help frame your photo, which is something that naturally draws the eye to. From here on in, I try to remember the rule of thirds: imagine two lines running vertically and horizontally through your layout, dividing it into a grid three spaces wide each way. When you're adhering your embellishments, try and place them where those imaginary lines interesect; that's called the 'sweet spot'. Your eyes will go nuts over it- and in the process, try to place those embellishments in a triangle, another technique our eyes naturally go gaga over. Use ribbon, borders, paper strips, etc to help aid in the process of ceating 'lines'.
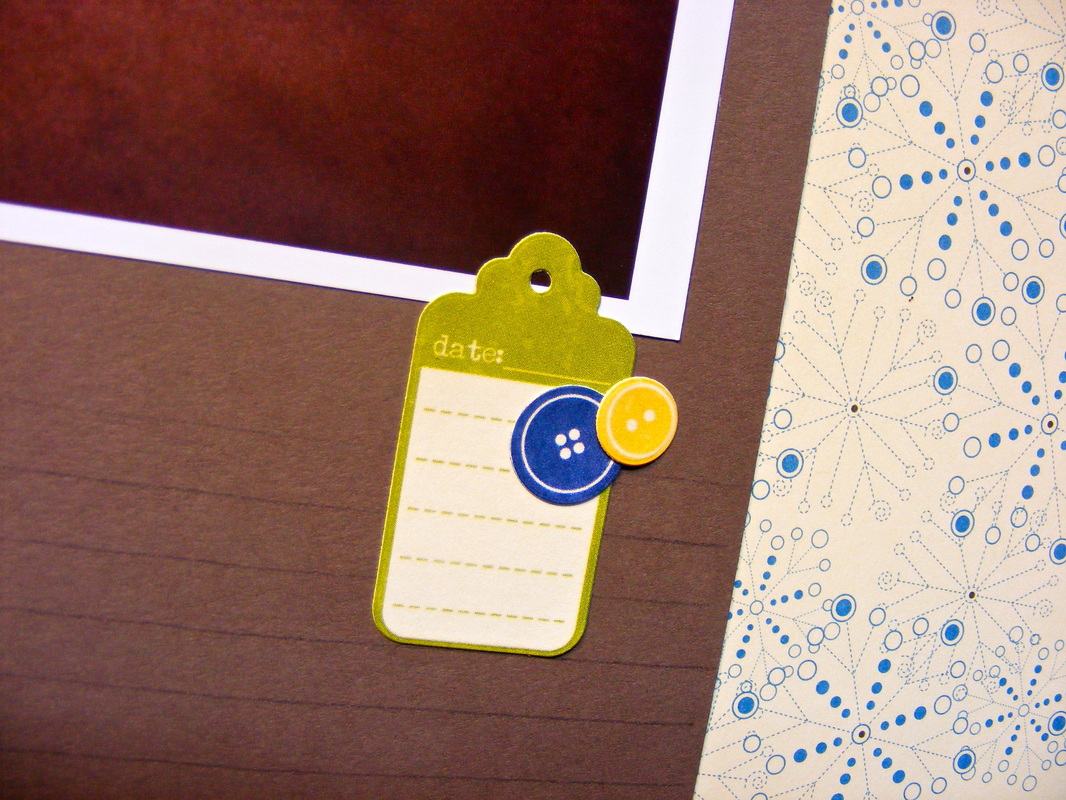
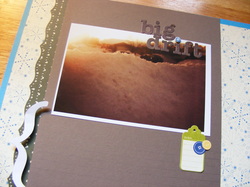
Now that I have my general design figured out, I adhered my patterned paper, border and photo mat. With that done, I knew that I wanted to put the title in the upper right corner of the photo mat, and the journalling underneath the photo. I also knew that I wanted to add a date tag to the bottom right corner of the photo, so I adhered that right away, too. In the end, this wound up being one of my embellishments.
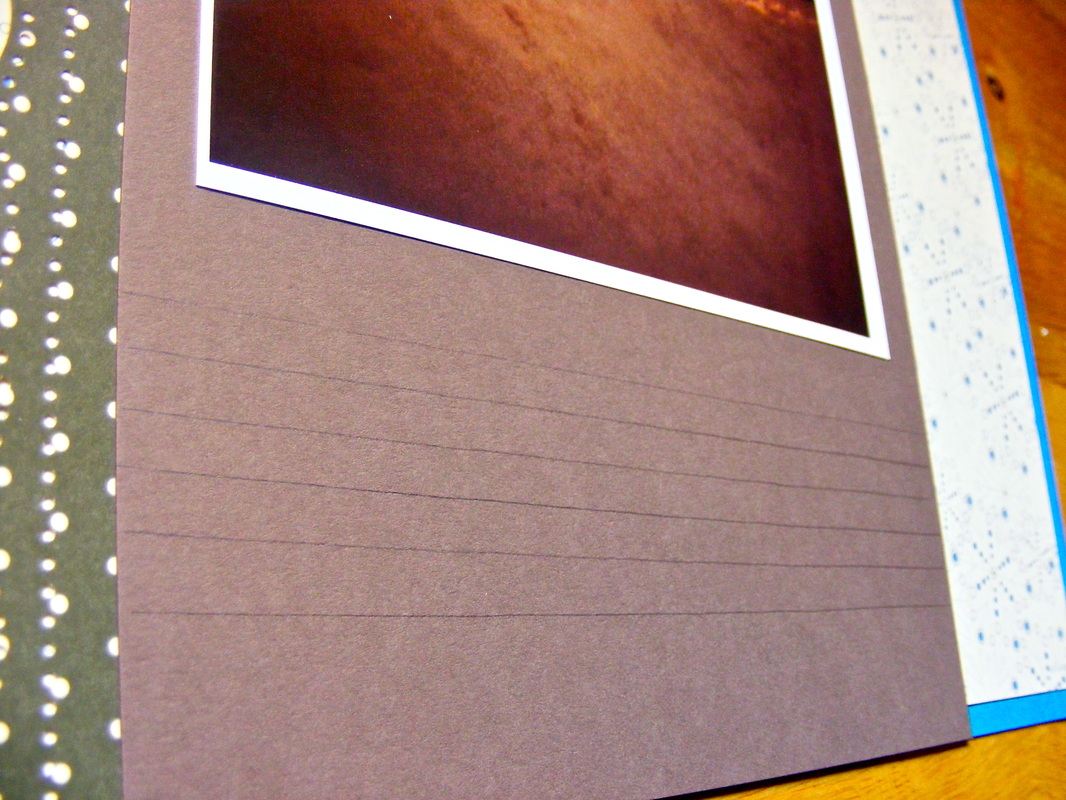
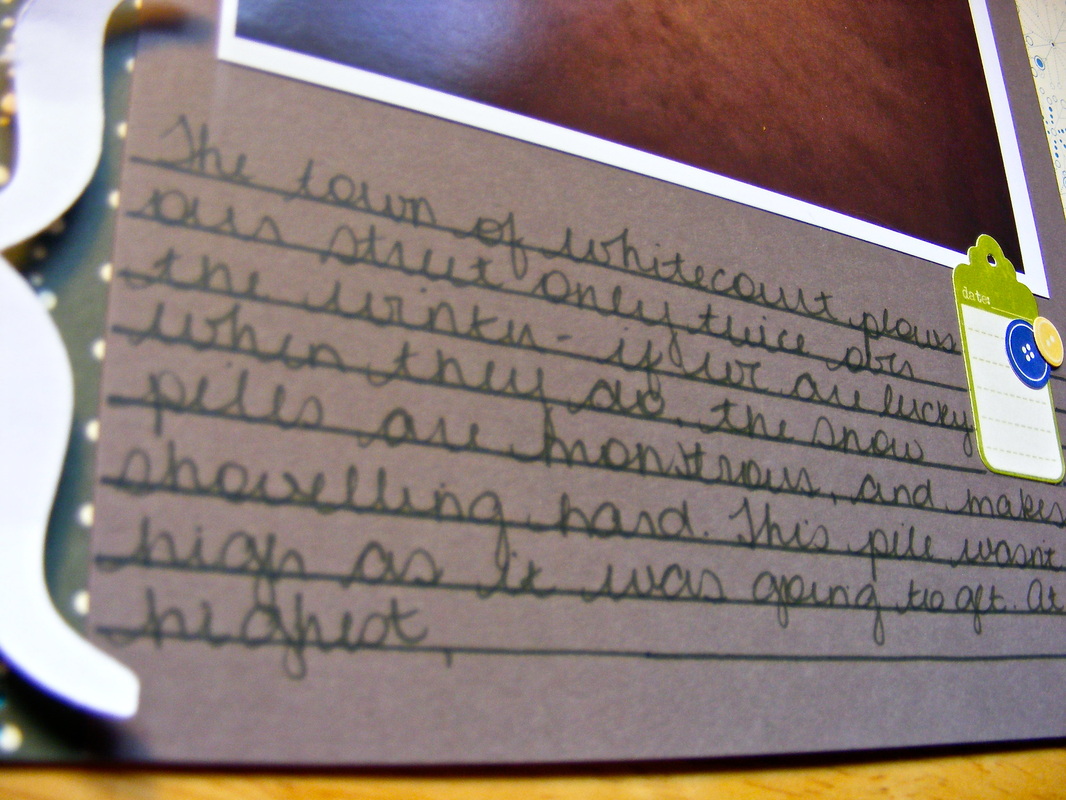
Using my straight edge ruler, I drew my journalling lines in pencil first, then went over them again with a journalling pen. A good trick to remember when it comes to your journalling, is to write it out in pencil first so that if you make a mistake, it can be erased before the final 'draft' is written. Once you're sure what you want to say will fit in the space provided, then go over it in pen, and erase any pencil lines that show through when you're done. Journalling, then adding your embellishments are the last two steps in the design creating process.
What is journalling? Journalling is the story you want to tell- in your own words- and, that can be what you felt when the picture was taken, what was happening when the picture was taken, it could be a letter to a loved one that's in the picture, or it could be a quote that you found online that sums up perfectly your feelings about that particular picture or pictures. Once again, journalling can be hand-written or computer generated- whichever you're more comfortable with, or whichever your project calls for. If there's a lot that you want to say, typing it out might be the best.
There are different ways you can incorporate journalling into your layout. You can write directly onto the picture, directly onto the layout, you can create a journalling mat, and slip it behind a piece of paper or your photo, creating a 'hidden' journal; or the journal mat can be adhered directly to your layout, and act as an embellishment at the same time.
Notice how the bracket, date tag and title work create a triangle? This helps to move the eye around the page; I tried putting my embellishments in the 'sweet spots'- where those imaginary lines would intersect in my imaginary grid.
Congrats! You've just created your very first layout! Ready to tackle another?
 RSS Feed